
Dreadlocks for Beginners: The Interlock Method Explained (Step-by-Step)
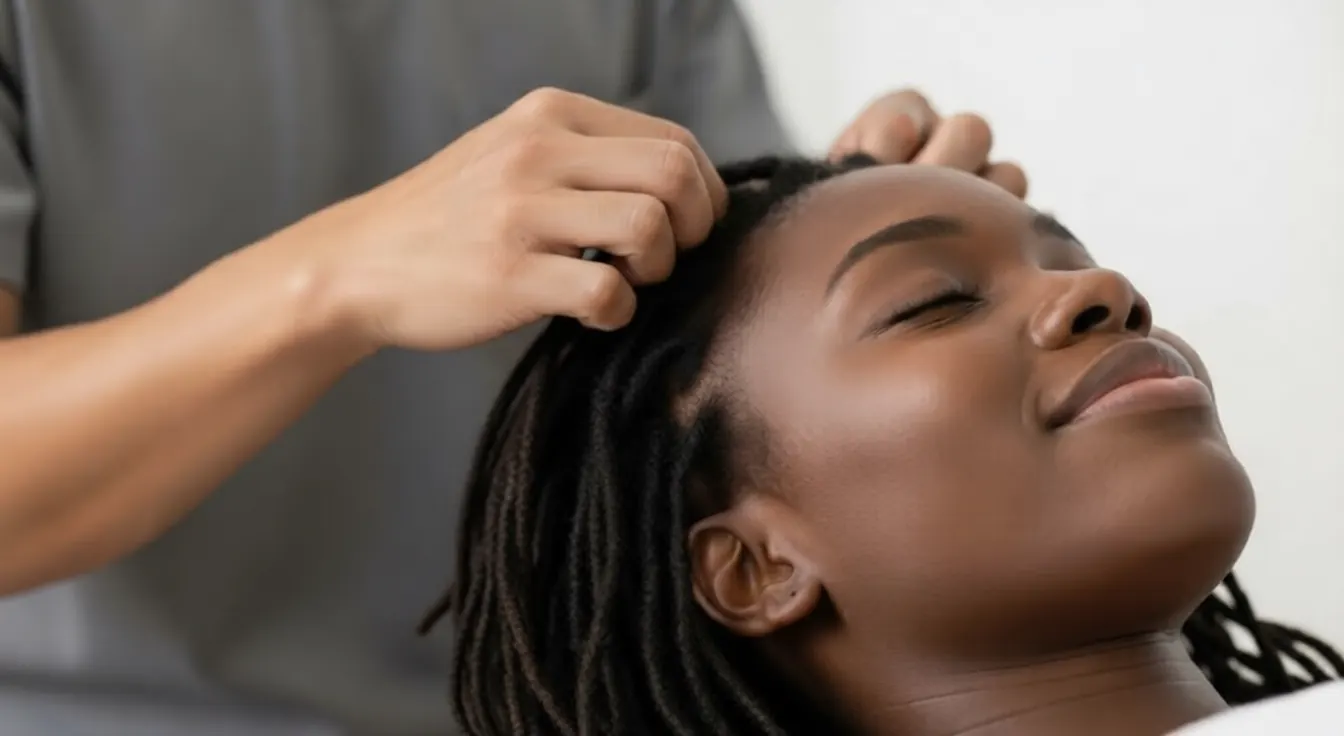
The interlock method is the most durable, low-frizz way to start locs — especially for fine or mixed-texture hair. Here's exactly how it works, step-by-step, and the mistakes that thin your roots.
If you're a beginner researching how to start dreadlocks, you've probably hit the same wall everyone hits: palm rolling won't hold on your hair. Maybe your texture is too fine, too soft, too mixed, or just too clean. That's where the interlock method comes in — and it's the most reliable way to start locs without depending on hair texture or product residue to keep them closed.
This guide walks you through exactly what interlocking is, how to install your first set step-by-step, the tools you need, the maintenance schedule, the long-term pros and cons, and the four mistakes that quietly thin out roots and ruin otherwise healthy locs.
What is the interlock method?
Interlocking is a root-tightening technique that pulls the entire loc through its own base in a four-direction rotation: north → east → south → west. Each rotation creates a small mechanical knot at the root. Unlike palm rolling, which uses friction and natural texture, interlocking physically locks the hair at the scalp — meaning it doesn't slip, doesn't unravel in the shower, and doesn't depend on residue to hold.
Palm rolling is a hairstyling technique. Interlocking is a mechanical lock. That's why interlocked starter locs survive the first wash and palm-rolled ones often don't.
Who should choose interlocking?
- Fine, soft or thin hair that won't hold a twist
- Mixed-texture or biracial hair (looser curl patterns)
- Straight or wavy hair (1a–2c)
- Anyone active, athletic, or who washes hair frequently
- Swimmers — interlocked locs hold in chlorine and salt water
- People who want low-maintenance long-term locs
Tools you need to interlock locs
- Latch hook / interlock tool (sizes 0.5mm, 0.75mm, 1.0mm, 1.5mm)
- Rat-tail comb for clean parts
- Hair clips to section
- Spray bottle with water + light leave-in conditioner
- Mirror — ideally a 3-way mirror for back rotations
- Patience: budget 4–8 hours for a full first install
Choosing the right tool size
Tool size should match loc size, not hair texture. Microlocs use 0.5mm tools, sisterlock-sized locs use 0.5–0.75mm, medium locs use 1.0mm, and large locs use 1.5mm. Using a tool that's too big creates loose loops; too small and you risk snapping hair.
Step-by-step: your first interlock install
- Wash hair with a residue-free clarifying shampoo. No conditioner. Let it air-dry completely.
- Section hair into a clean grid. Square parts (1" x 1") are most common for medium locs. Use rubber bands or coil clips on each section.
- Lightly mist the working section with water — never soaking wet, never bone dry.
- Twist the section once at the root to give the tool something to grab.
- Insert the interlock tool through the base of the loc.
- Pull the entire loc tail through itself — this is rotation #1 (north).
- Rotate to the east, repeat. Then south. Then west. That's one full interlock cycle.
- Move to the next section. Always work from nape → crown so the back doesn't get exhausted last.
- After the install, smooth with a tiny amount of water-based gel. Air dry only.
Pros of the interlock method
- Holds on every hair type, including straight and fine
- Survives wash day from week one — no waiting 6 months to shampoo
- Minimal frizz, polished look from day one
- Best foundation for human hair loc extensions
- Long-term: low maintenance, every 4–6 weeks
- Doesn't require heavy gels or beeswax (which cause buildup)
Cons & risks to know about
- Long install time (4–8 hours for first set)
- Over-interlocking the same section can thin or weaken roots
- DIY interlocking on the back of your head is genuinely hard
- If done in only one or two directions, locs develop a noticeable twist or 'curl' at the root
The 4 mistakes that thin out roots
- Interlocking too often — every 2–3 weeks instead of every 4–6 weeks. The hair never gets to recover.
- Always rotating in the same direction — creates a single weak point that snaps.
- Using a tool that's too small for your loc size — saws through the hair.
- Interlocking dry hair — increases breakage and scalp tension.
Interlock loc maintenance schedule
- Retighten roots every 4–6 weeks (never weekly, never bi-weekly)
- Wash every 1–2 weeks with a residue-free shampoo
- Moisturize with a water-based spray 2–3x per week
- Sleep on satin or in a satin bonnet — every single night
- Deep condition once a month with a lightweight protein treatment
- Clarify (apple cider vinegar rinse) every 6–8 weeks
Interlock vs palm rolling vs crochet
Interlocking is mechanical and texture-independent. Palm rolling relies on coily texture and product. Crochet uses a hook to compress hair into the body of the loc. For long-term root health on fine or mixed hair, interlocking wins. For instant-mature look on thick coily hair, crochet wins. For maintaining mature locs that already exist, palm rolling is the gentlest.
Want the full side-by-side?
Interlock vs Crocheted Locs: which is better for beginners? →Frequently asked questions
Keep reading
New to locs entirely?
Start with our 10 Loc Starter Methods guide →